Deal of the Day
Let's discover how to set up Deal of the Day to showcase today's special deals with our following guide.
This feature is available for all types of campaign.
What is Deal of the Day?
Deal of the Day is a visually engaging pop-up widget enabling you to highlight exclusive daily deals. Customers can easily see what's available and claim enticing offers such as free gifts or discounts.
Why to use Deal of the Day?
Drive more attention
This feature is designed to grab attention from customers, as it is placed in an easy to see area(s), making purchases more effective and time-saving.
Enhance customer engagement
With an attractive and interactive display, customers are more likely to explore the deals. As it showcases multiple deals in a single, easy-to-access widget, it can reduce confusion and improve customer experience.
Streamline targeted promotions
This feature allows you to manually choose campaigns appearing on the widget or set pre-defined rules to match your store's strategies.
How to set up Deal of the Day?
Step 1: Navigate Deal of the Day
Go to Widgets in the left sidebar > find Deal of the Day > click Setup.
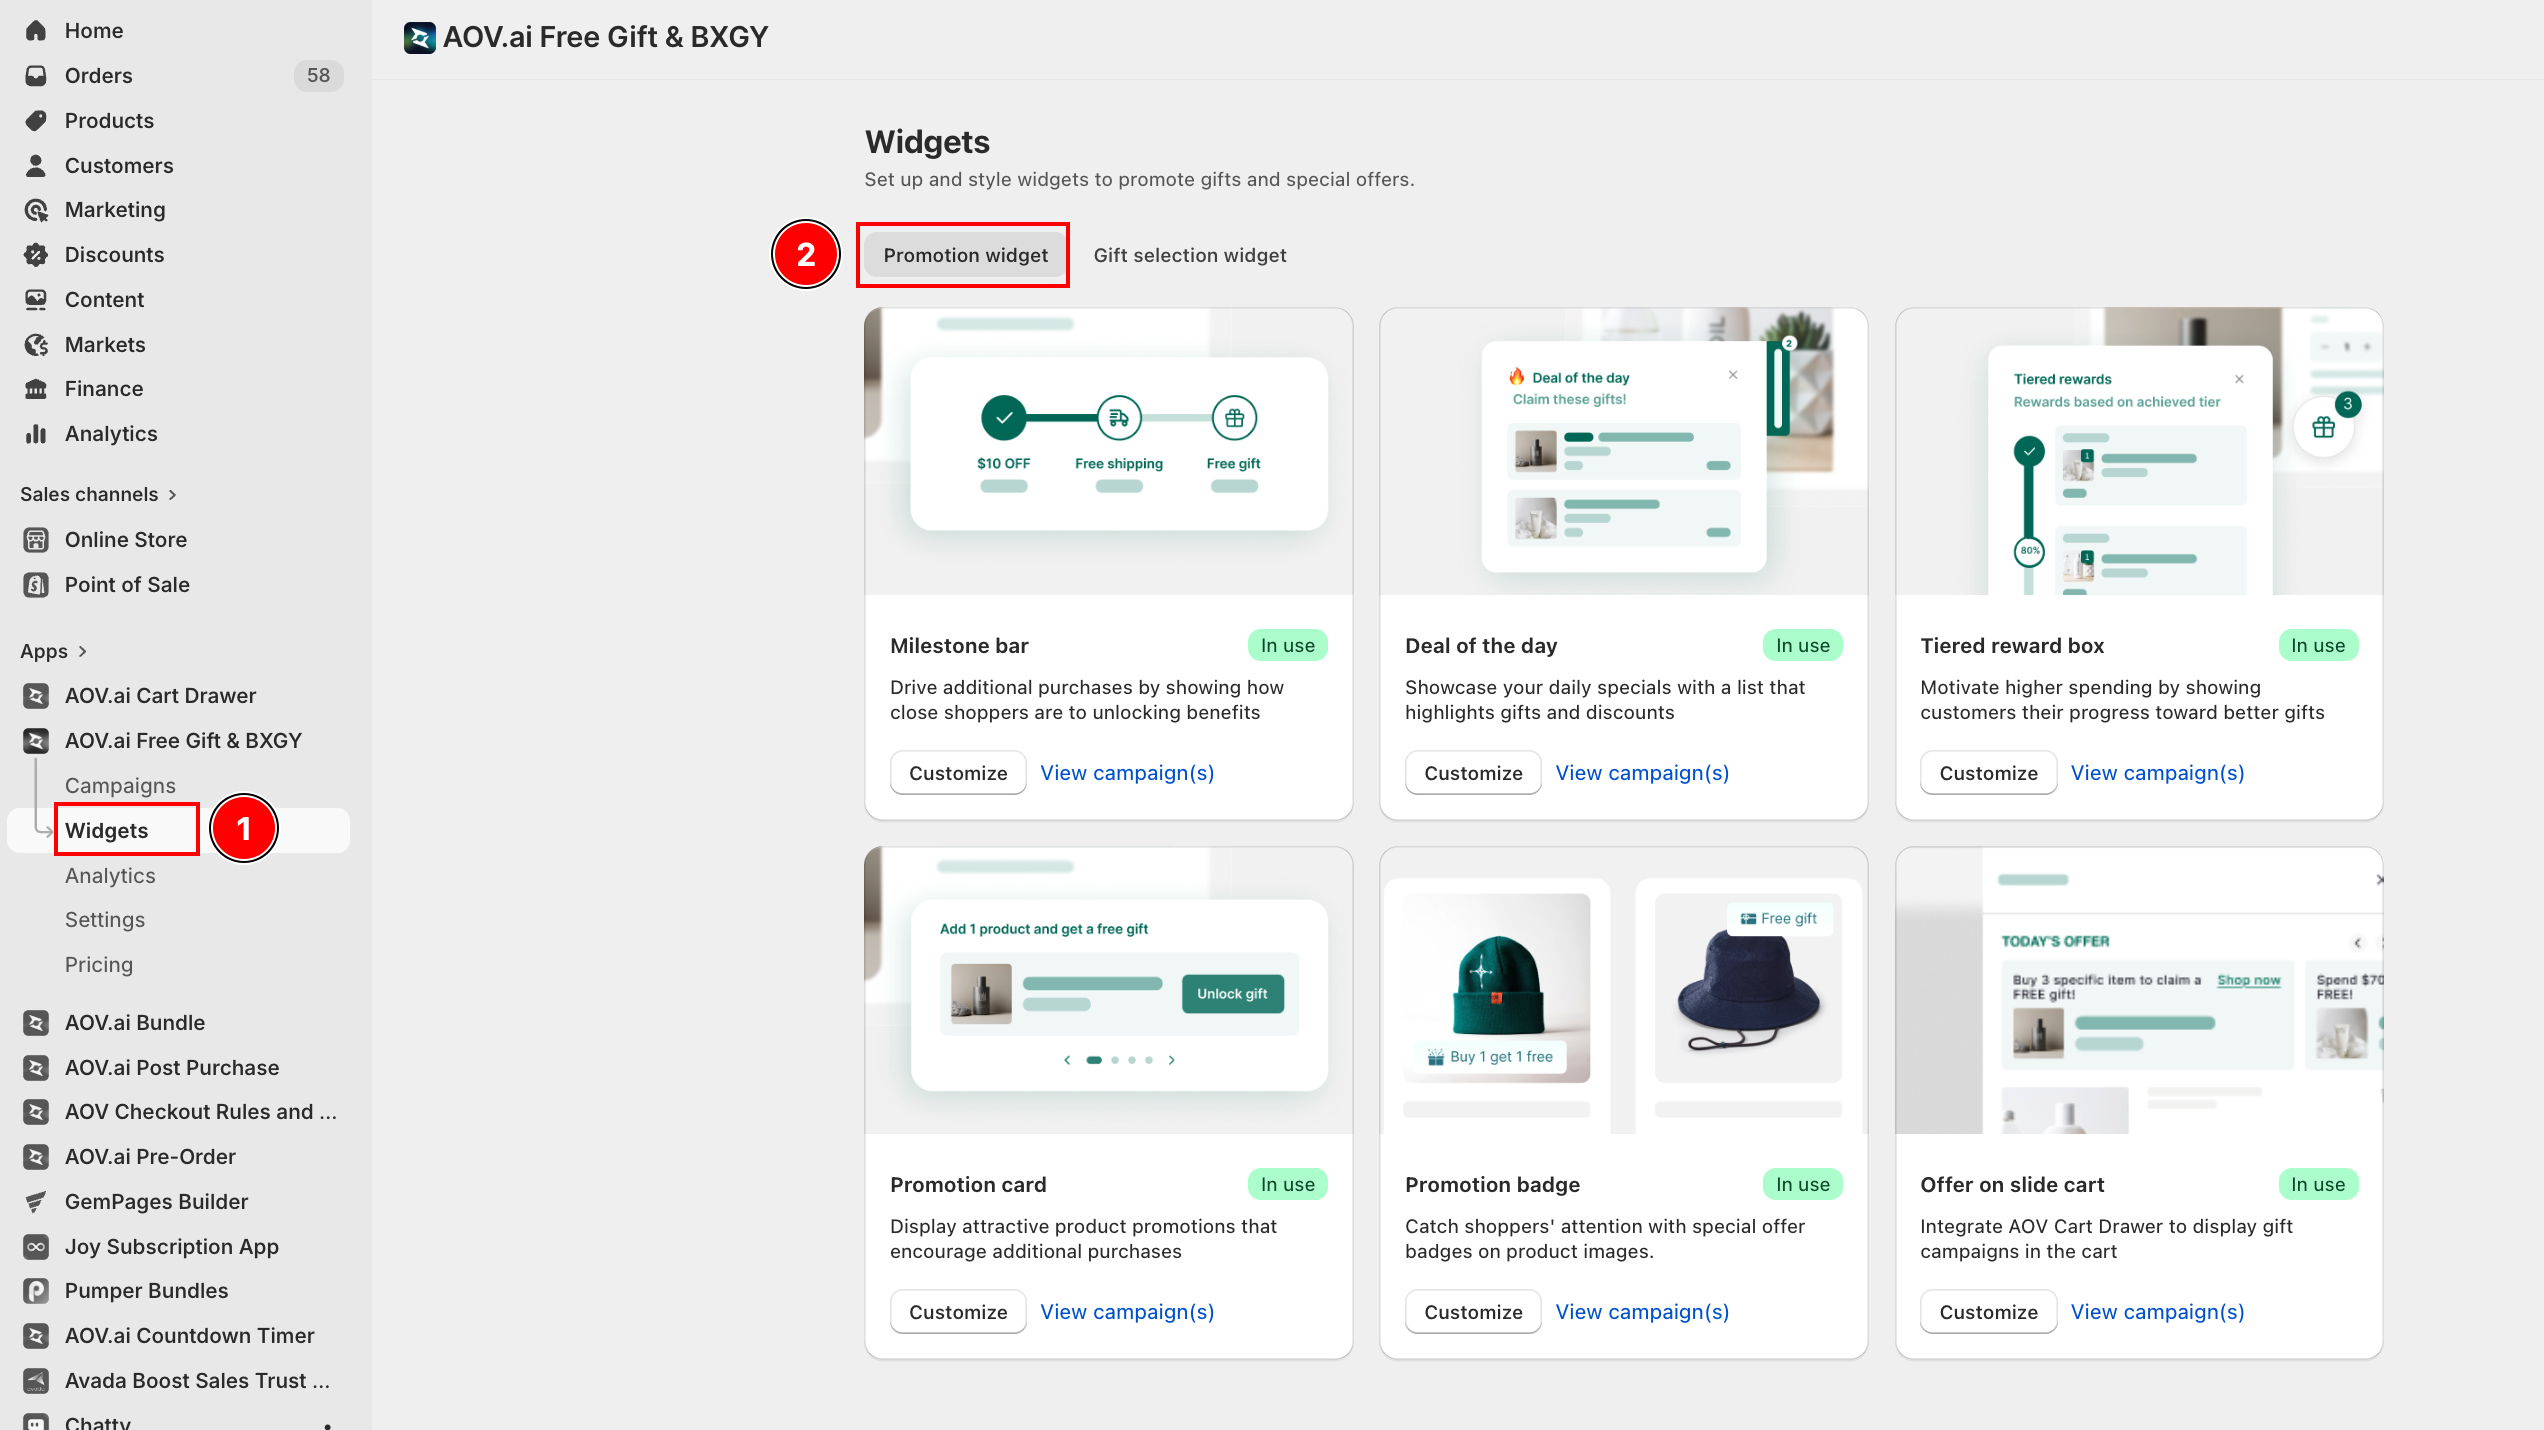
Toggle the button at the top to enable this feature.
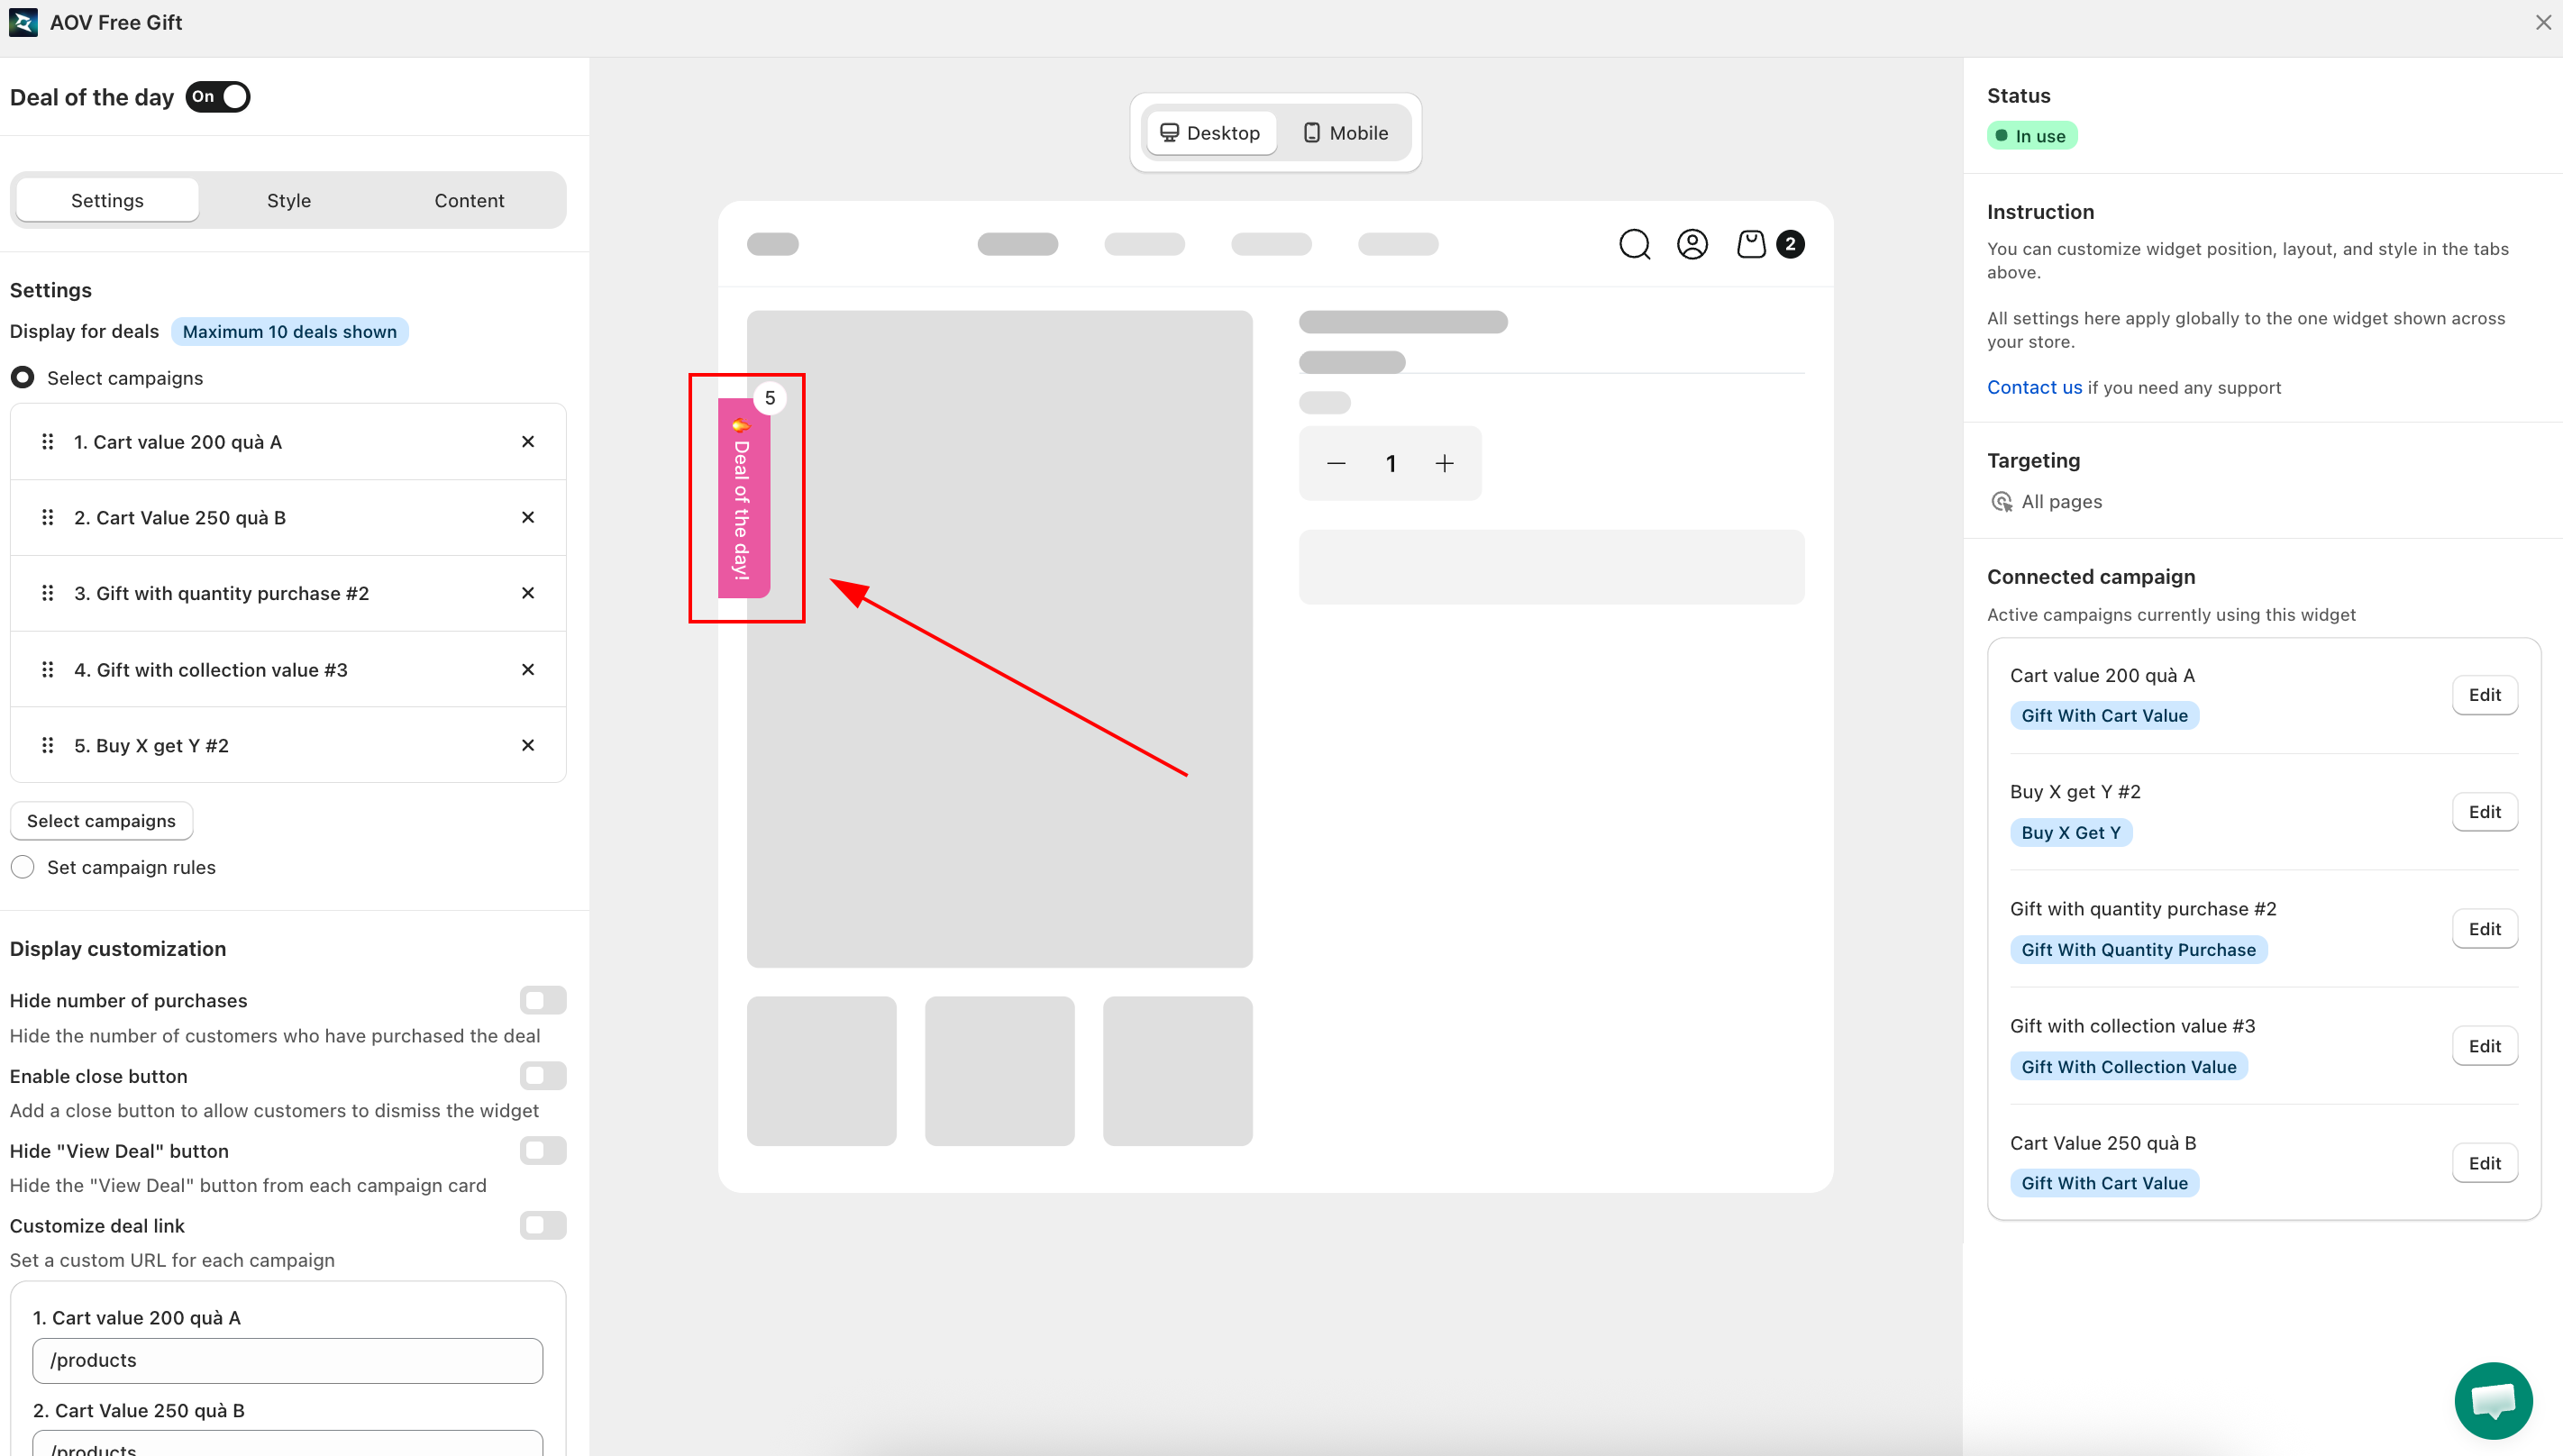
Step 2: Choose deals to display
In the Settings tab, under Display for deals, choose one of two options:
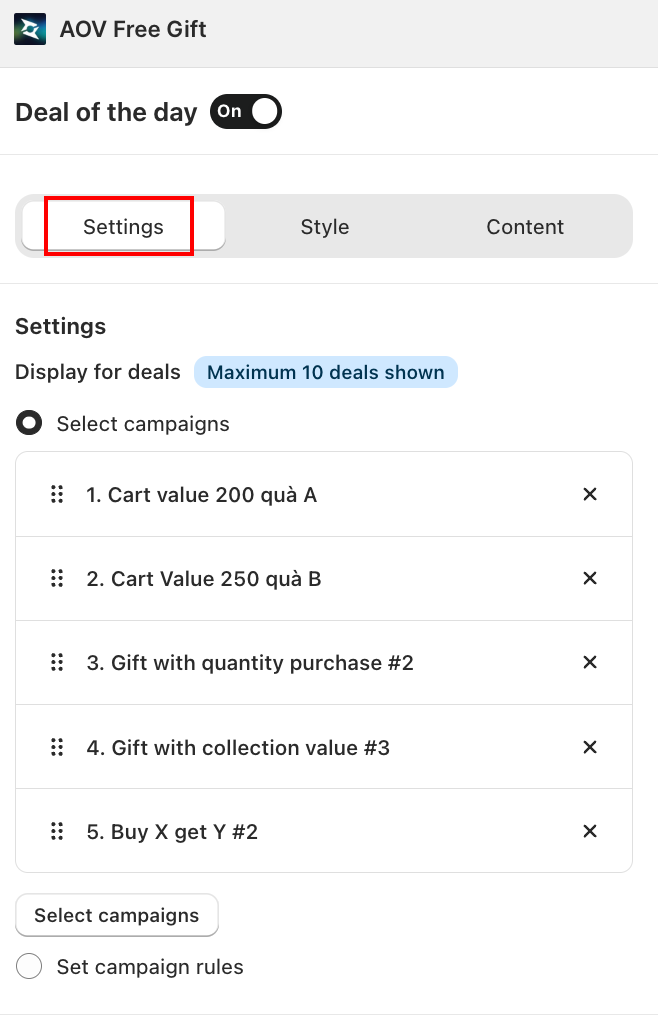
2.1 Select campaigns — handpick specific campaigns to show. Click Select campaigns and tick the ones you want.
2.2 Set campaign rules — let the widget auto-select campaigns based on rules you define. Click Add rule and choose from four campaign types:
- Buy X Get Y
- Gift with Cart Value
- Gift with Collection Value
- Gift with Quantity Purchase
You can show a maximum of 10 deals at a time.
Step 3: Display customization
Still in the Settings tab, scroll to Display customization to fine-tune how each deal card behaves:
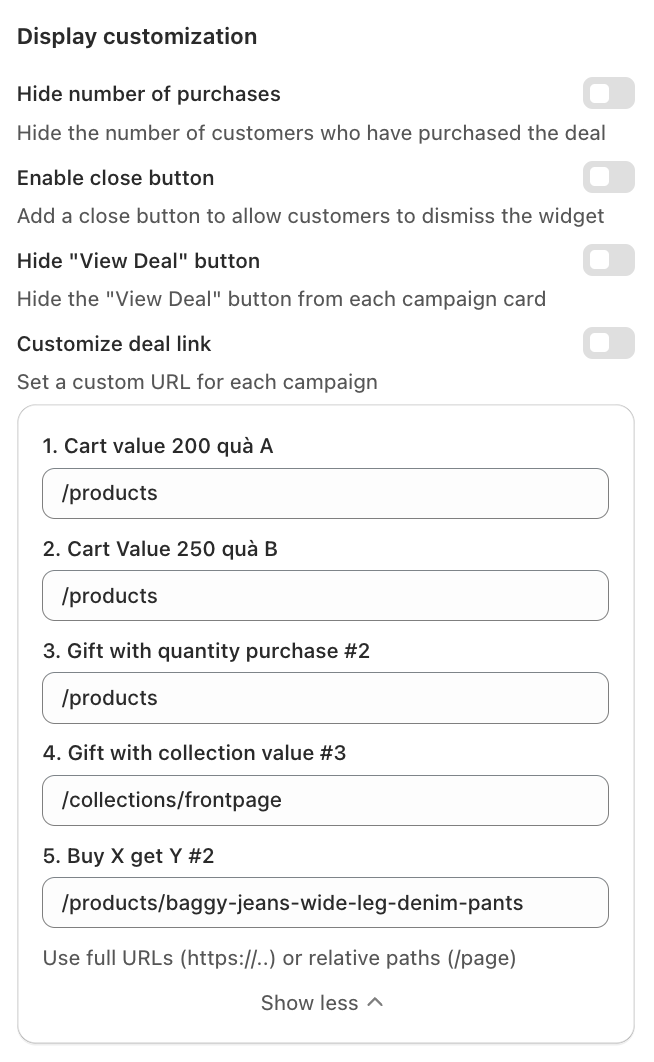
- Hide number of purchases — removes the purchase count shown on each deal card.
- Enable close button — lets customers dismiss the widget without choosing a deal.
- Hide "View Deal" button — removes the per-card CTA button. The deal card itself remains clickable.
- Customize deal link — redirect the "View Deal" action to a custom URL instead of the default product page.
Step 4: Customize widget content
Switch to the Content tab to configure the text displayed in the widget.
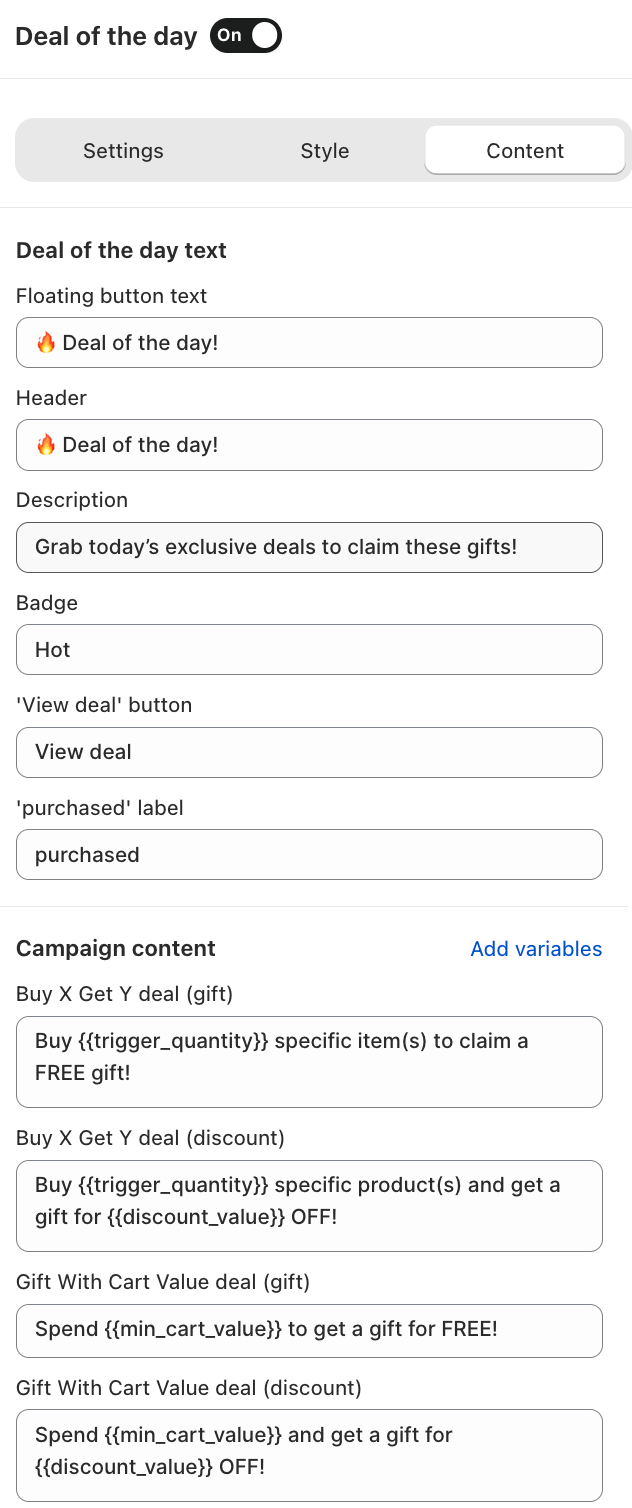
Deal of the day text
- Floating button text — the label on the floating button, for example "🔥 Deal of the day!".
- Header — the heading inside the widget panel, for example "🔥 Deal of the day!".
- Description — a brief line so customers understand the offer, for example "Grab today's exclusive deals to claim these gifts!".
- Badge — a short label shown on each deal card, for example "Hot".
- 'View deal' button — the CTA button label on each deal card, for example "View deal".
- 'purchased' label — the text shown next to the purchase count, for example "purchased".
Campaign content
Customize the deal description template for each campaign type. Use the Add variables button to insert dynamic values like {{trigger_quantity}}, {{min_cart_value}}, or {{discount_value}}:
- Buy X Get Y deal (gift)
- Buy X Get Y deal (discount)
- Gift With Cart Value deal (gift)
- Gift With Cart Value deal (discount)
- Gift With Collection Value deal (gift / discount)
- Gift With Quantity Purchase deal (gift / discount)
Step 5: Style the widget
Switch to the Style tab to match the widget's appearance to your brand.
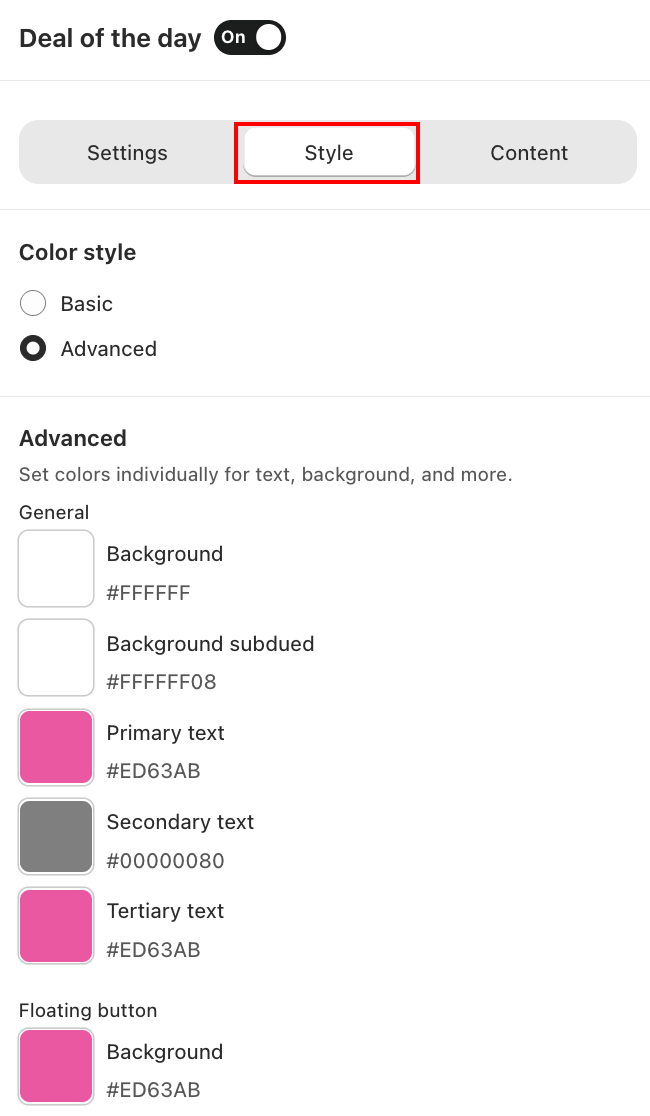
Under Color style, choose how colors are applied:
- Basic — set a single Primary and Secondary color applied across the widget.
- Advanced — fine-tune each color individually:
- General: Background, Background subdued, Primary text, Secondary text, Tertiary text.
- Floating button: Background color of the floating launcher button.
Final step: Preview and activate
Use the Preview panel to see how the widget looks on desktop and mobile. Click Save to confirm all changes.
That's it! Everything is all set now.